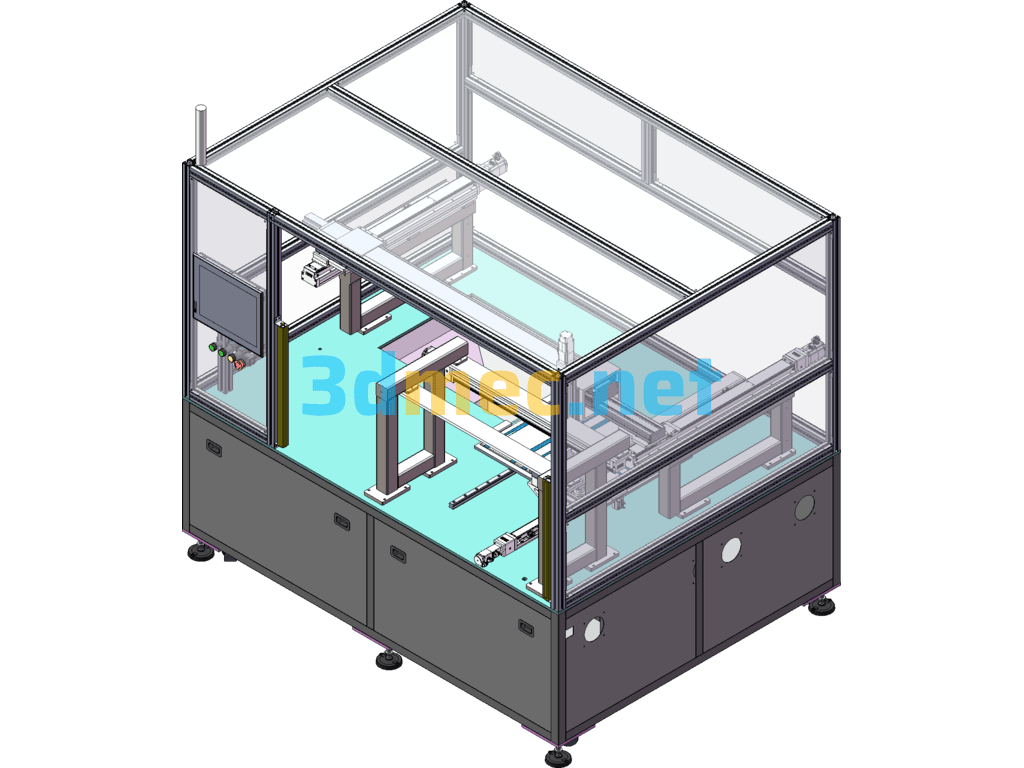
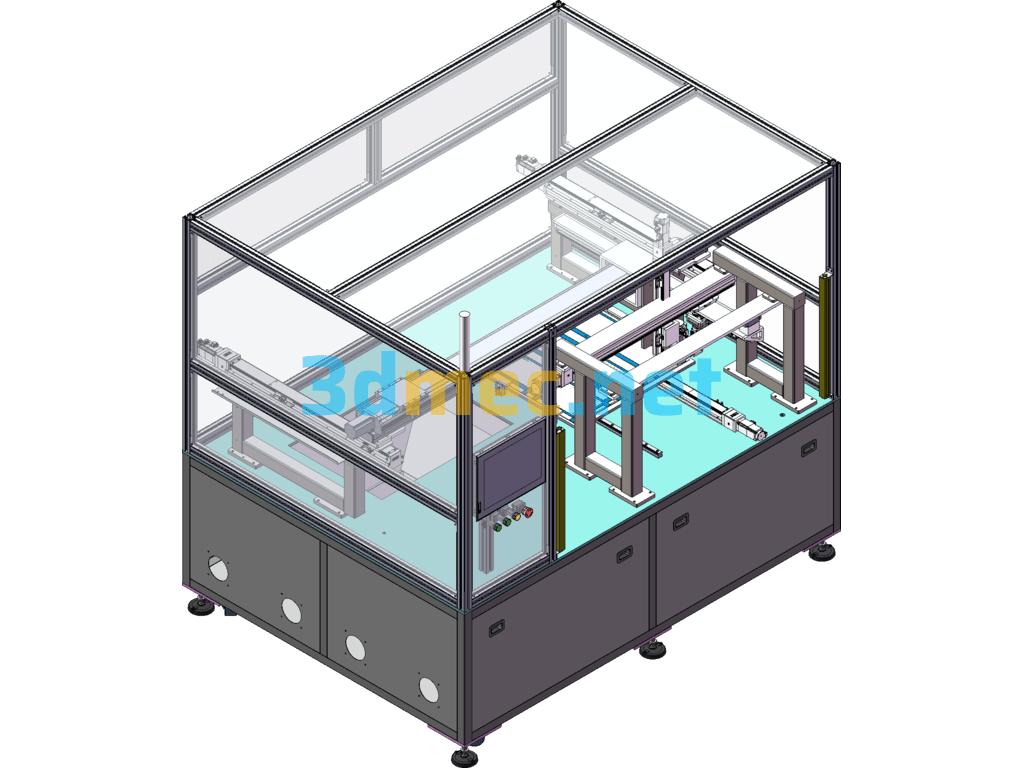
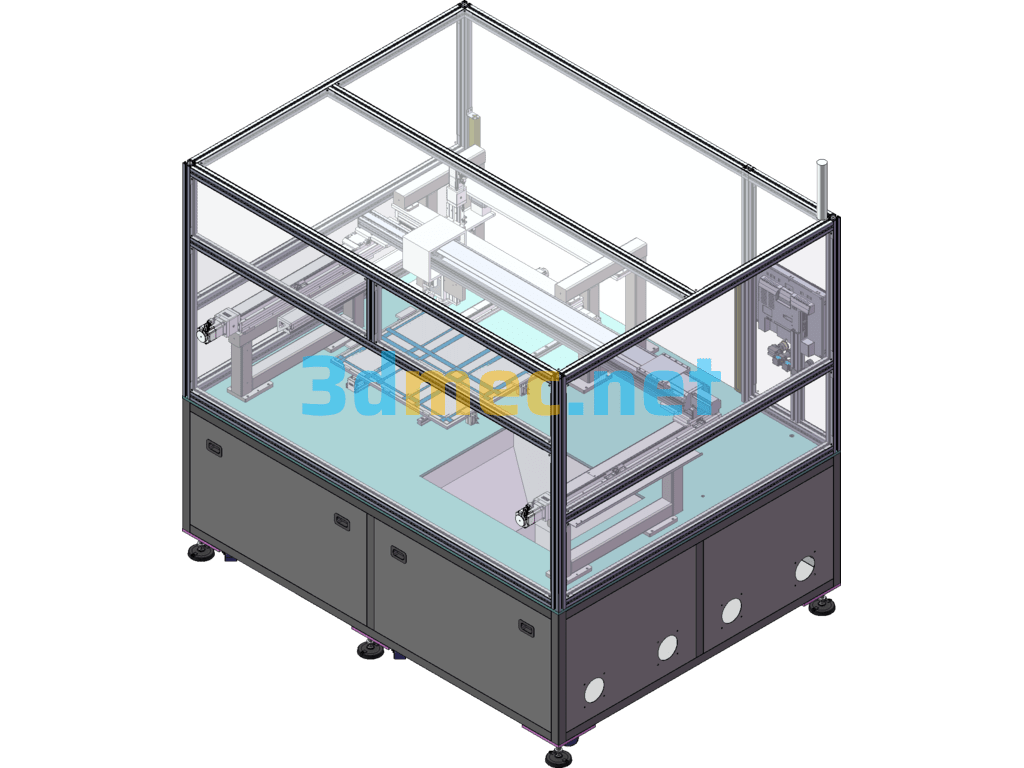
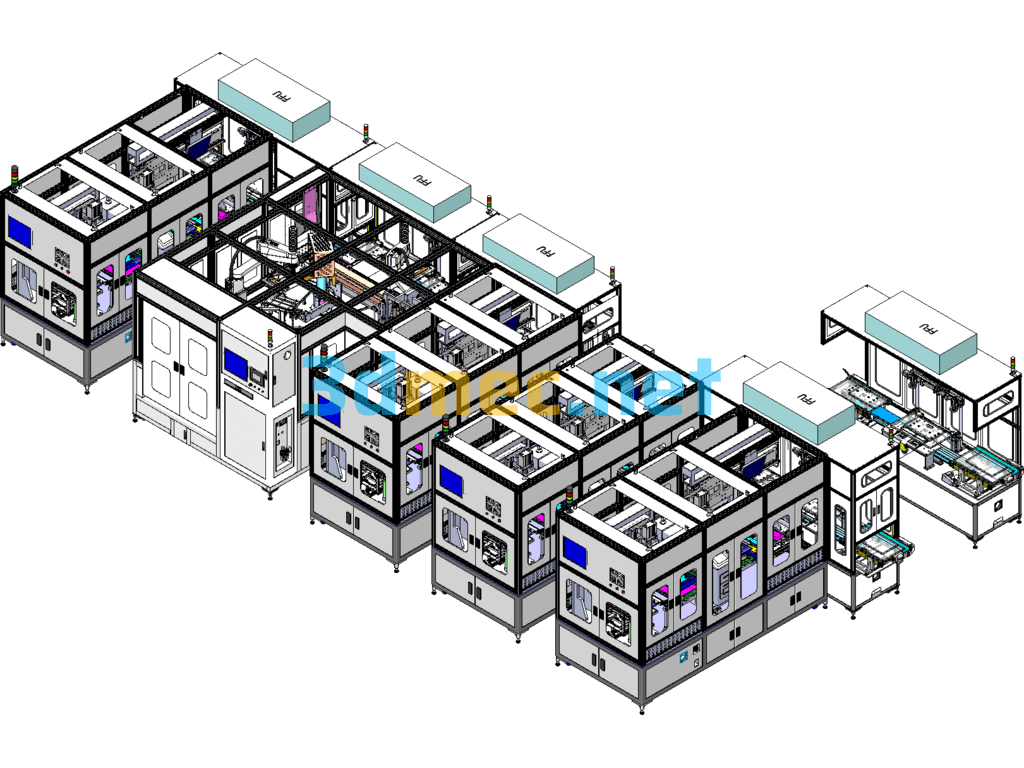
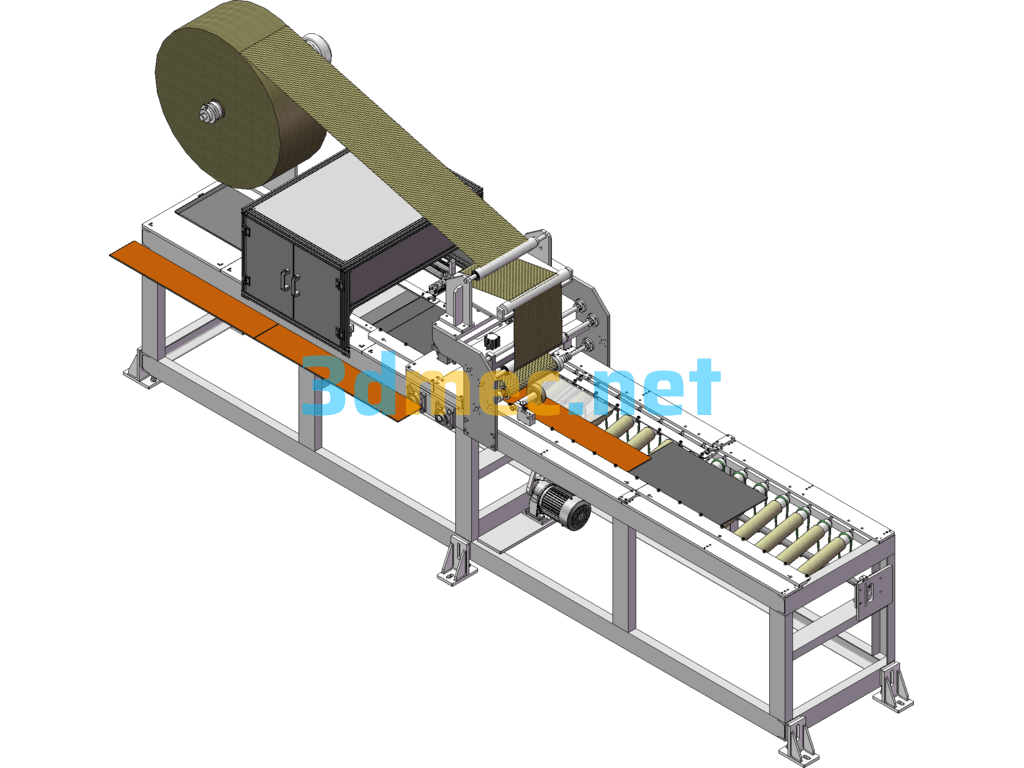
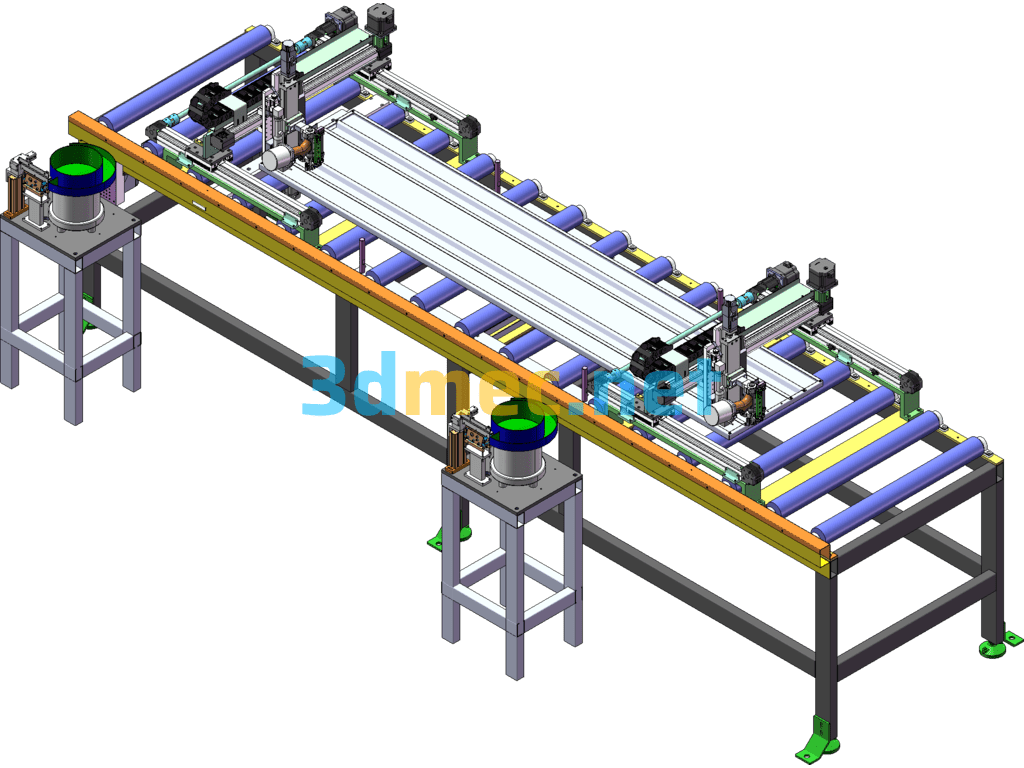
Tape Removal Equipment – 3D Model SolidWorks
1. Manually place the product covered with protective film and protective paper into the fixture, and then manually exit the grating range
2. Press the manual start button, the grating will determine whether there is any obstruction. If there is no obstruction, the liner fixing cylinder will move (rotate and press); refer to the “liner pressing steps”
3. The X-axis and Y-axis move to the set position, the tear tape pre-pressing module retreats, and no pre-pressing is required in the Y-axis direction
4. The Z-axis moves downward to the predetermined position, and the clamping tape sheet is placed in the clamping position. The cylinder clamps the tape, and the pressing module presses the protective film. The Z-axis of the tear tape slowly moves up, the Y-axis moves slowly, the A-axis rotates about 90°, and the X-axis moves to throw the tape into the recycling bin
5. According to the parameters (position, quantity), repeat steps 3-5 to complete the number of tear tapes set in the current direction;
6. The Z axis returns, and the glue peeling module and the pressing module rotate 90°
7. The X axis and Y axis move to the set position, and the Z axis moves to the predetermined position
8. The X axis pre-pressing module of the glue peeling tape moves to the set position and pre-presses the protective film in the X axis direction
9. According to the parameters (position, quantity), repeat step 4 to complete the number of glue peeling tapes set in the current direction;
10. The Y axis moves to the loading and unloading position
11. The product reaches the manual loading position, the liner fixing cylinder returns, and the product with the protective film torn off.
Specification: Tape Removal Equipment – 3D Model SolidWorks
|
User Reviews
Be the first to review “Tape Removal Equipment – 3D Model SolidWorks”
You must be logged in to post a review.




There are no reviews yet.