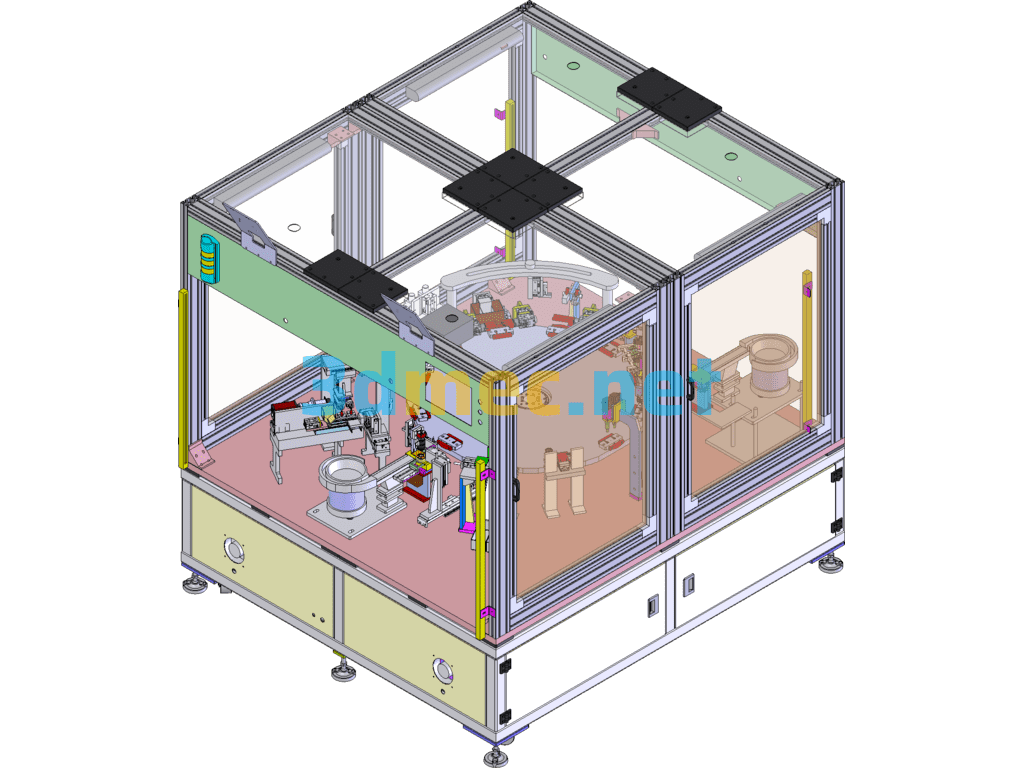
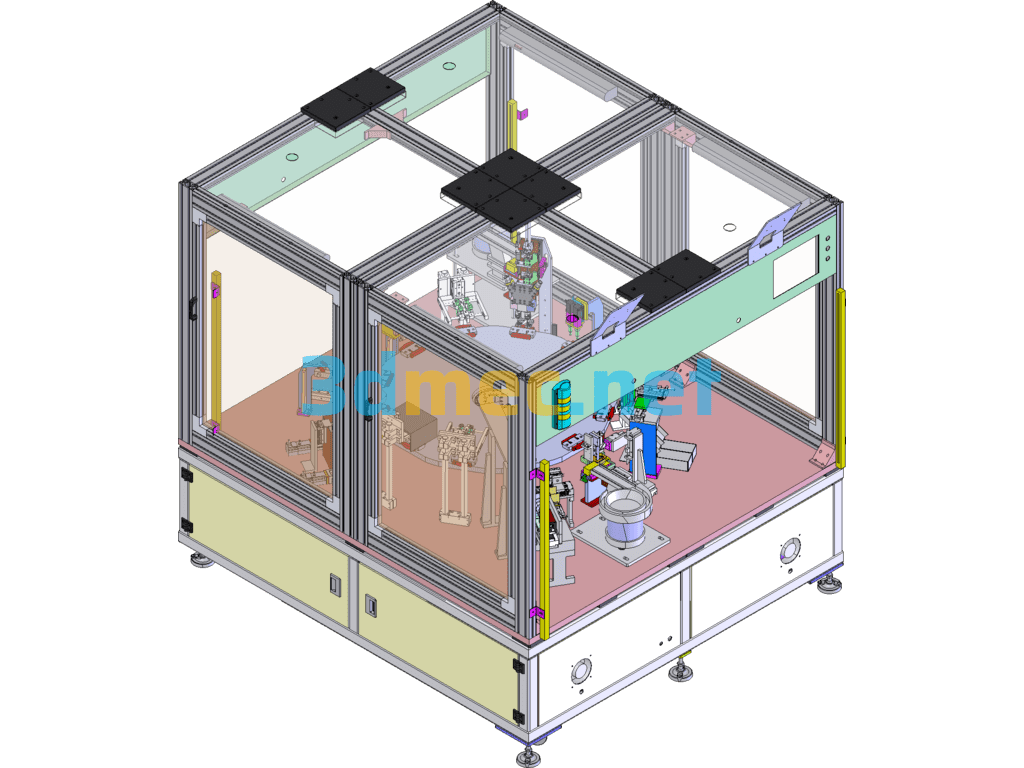
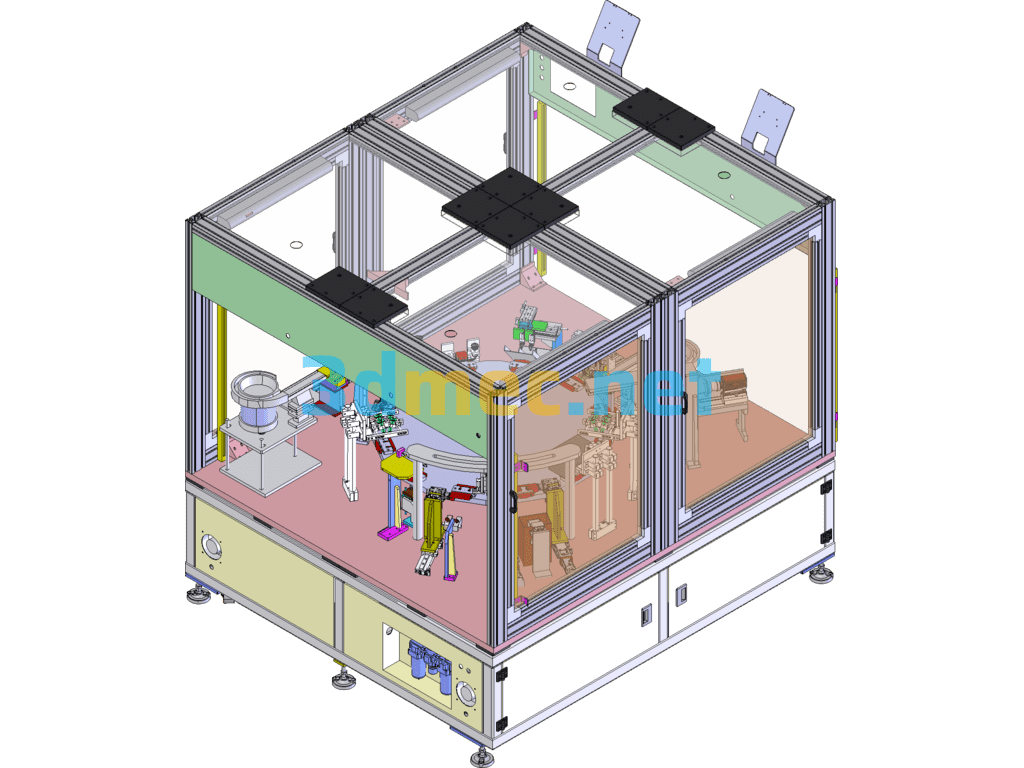
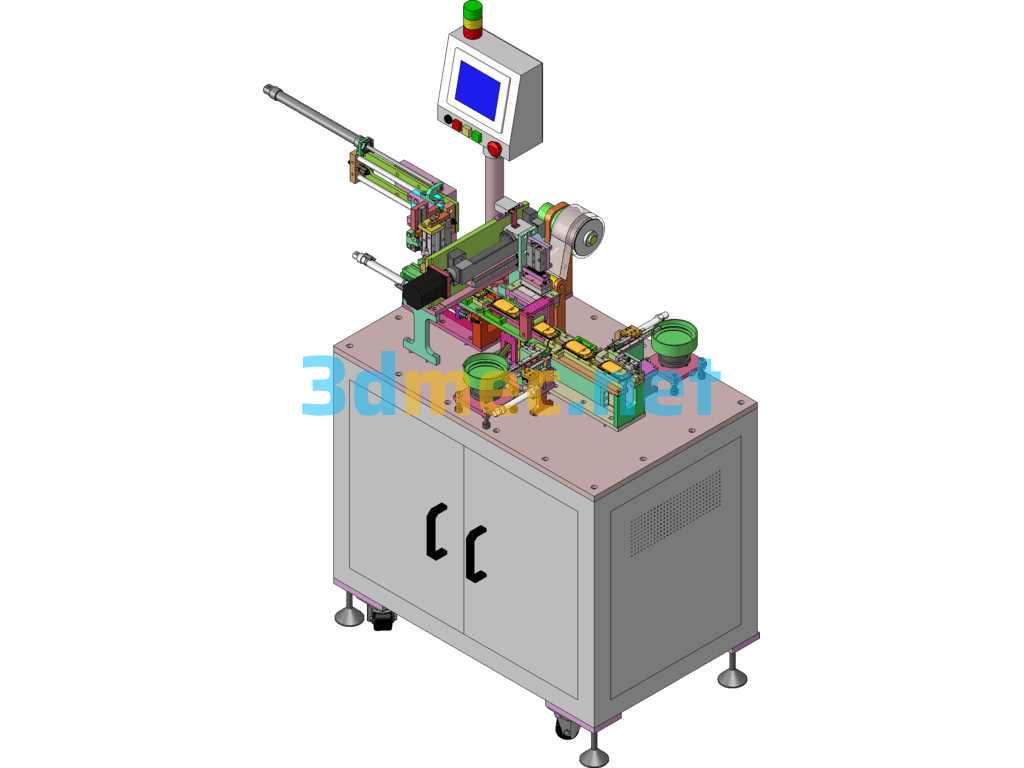
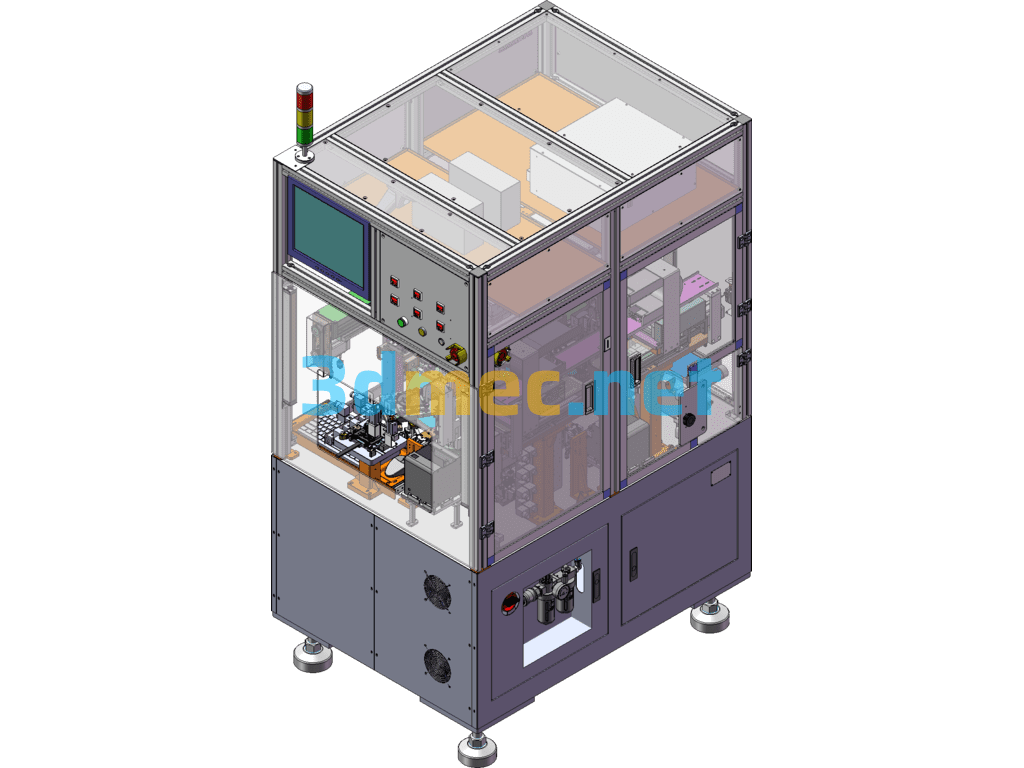
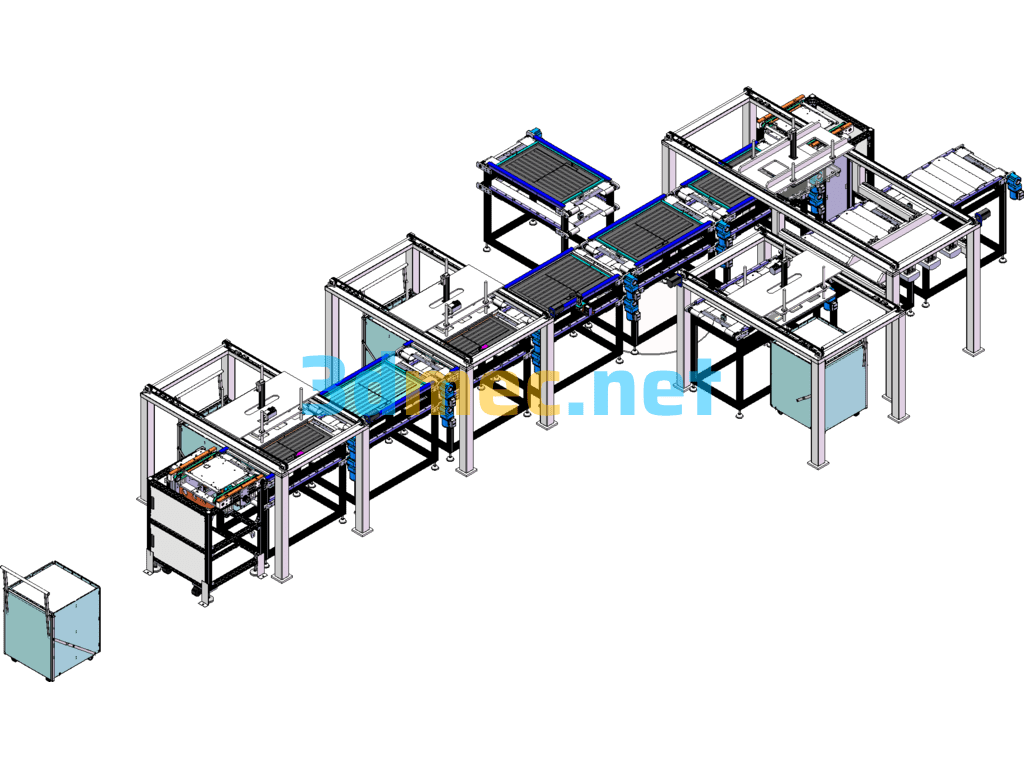
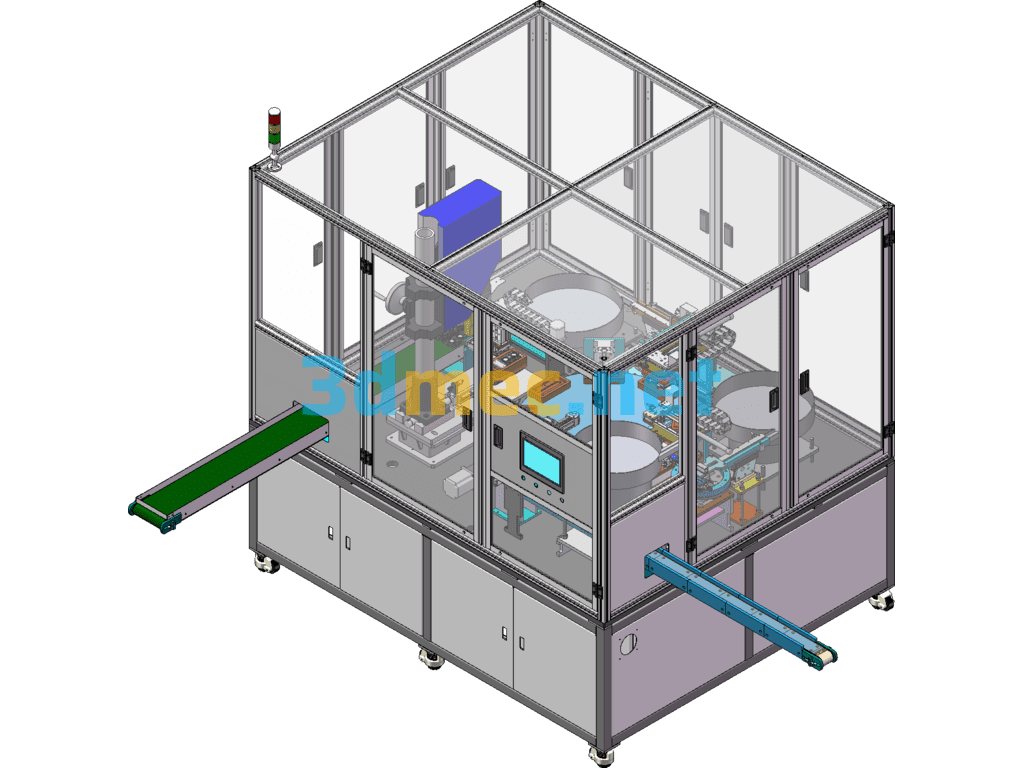
Instructions for the operation of the automated injection needle assembly and dispensing machine:
The first step: Feed the Base vibrating plate, and have a CCD to identify the front and back of the Base;
The second step: Insert the first needle tube, and have The CCD determines the forward and reverse direction of the needle tube and whether there is any defect;
The third step: insert the second needle tube, and the CCD determines the forward and reverse direction of the needle tube and whether there is any defect;
The fourth step: Apply UV glue;
Step 5: UV curing;
Step 6: Apply airtight glue;
Step 7: Powerfully air dry;
Step 8 : Silicone on the nozzle;
Step 9: Cover pre-installation;
Step 10: Cover pressing;
Step 11: Finished product discharging (automatically distinguish OK&NG);
Step 12: Repeat the above action;
The working purpose of the injection needle assembly machine: The machine automatically supplies materials (needle, Base and Cover) and automatically assembles.
Operation method: disc type operation;
Brief description of the action process:
Base feeding/inputting the first needle tube→inputting the second needle tube→dispensing UV glue→UV curing Dip in airtight glue Powerfully air-dry Apply silicone to the mouth of the tube Cover pre-assembly Cover pressing Finished product is discharged.
4.C/T: Estimated 2pcs/5sec;
4. Estimated machine size: 2000(L)*1800(W)*1800(H)mm.
Specification: Injection Needle Assembly Dispensing Equipment – 3D Model SolidWorks
|
User Reviews
Be the first to review “Injection Needle Assembly Dispensing Equipment – 3D Model SolidWorks”
You must be logged in to post a review.



There are no reviews yet.